Introduction
This article shows how to build and deploy a fully functional NFT dApp on Quai network’s Orchard Testnet.Prerequisites
To deploy contracts and build a webapp frontend we’ll need a few tool-kits and dependencies. Here’s an overview of all the main dependencies we’ll be using.Walkthrough
Today we’re going to be building an NFT dApp on QUAI complete with a web interface for interacting with it and managing some of the properties like mint price and total supply. To have the best experience when following this guide we recommend you use the Chrome browser on either MacOS or Linux. Additionally, download and install VSCode if you don’t already have it as we’ll be working both in the terminal and editing code directly in order to build this app. Lastly, we’ll be building our webapp using Node.js so it will be important to have that installed and setup ahead of time.Get a Quai Wallet with Funds
In order to build this app you will need to have a wallet with some funds in it. You can get the Pelagus wallet at pelaguswallet.io and acquire some testnet Quai from the faucet.Setup The Development Environment
Let’s make a directory for our development work.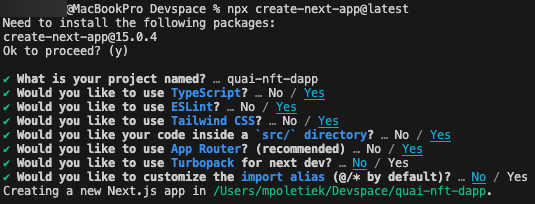
Building and Deploying the NFT Smart Contract
Once the Next.js app is created we can open thequai-nft-dapp folder in VSCode and run a new terminal.
For building and deploying the NFT smart contract on Quai, we’ll use the official hardhat-example repo as a reference.
The reference repo on github has solidity examples for deployment.
You can follow along by referencing the Solidity folder in the hardhat-example repo.
Install Dependencies
In order to build and deploy our smart contract we’ll need a few more dependencies. First we’ll install@openzeppelin/contracts which provides helper functions for building standard ERC721 (NFT) smart contracts.
dotenv which will allow us to configure our app via environment variables.
Initialize & Setup Hardhat
To initialize our new hardhat project we will run the following, selecting defaults when asked.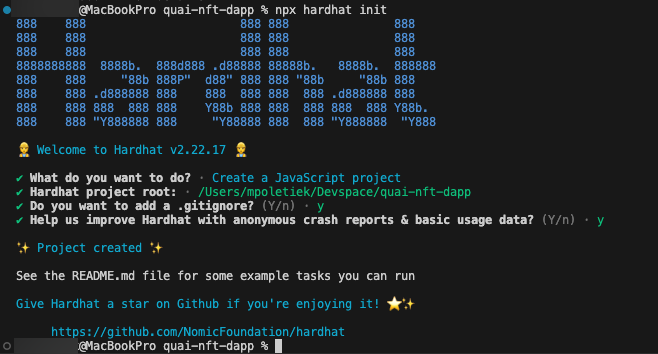 This command creates a basic folder structure for hardhat and a few examples for us.
We will need to configure hardhat to deploy our smart contract using
This command creates a basic folder structure for hardhat and a few examples for us.
We will need to configure hardhat to deploy our smart contract using .env.local environment variables.
Be sure to save your changes along the way throughout this walkthrough.
hardhat.config.js and replace it with the following:
hardhat.config.js
.env.local file and populate it with the correct information.
.env.local
CYPRUS1_PK and INITIAL_OWNER with your Quai wallet’s private key and public key respectively. If you’re using Pelagus you can copy your public key and replace INITIAL_OWNER. You’ll have to export your private key and replace CYPRUS1_PK with it.
 Next we’ll need to create the script for deploying our contract.
This is the script we’ll call later to deploy our smart contract.
scripts and make a file inside it called deployERC721.js. Populate deployERC721.js with the following.
scripts/deployERC721.js
Lock.sol file under the contracts/ folder to prevent hardhat from bringing it in when we want to compile.
Write the smart contract
In thecontracts folder we’re going to create an ERC721.sol file and populate it with the following:
contracts/ERC721.sol
INITIAL_OWNER once the contract is deployed. The initial tokenId is 0, mintPrice is 5 Quai, and total supply is 10,000.
The name and symbol of the NFT contract is hardcoded into the Solidity code as TestERC721 and TNFT.
There are functions only available to the contract owner which allows them to update mintPrice and supply. Additionally, as NFTs are minted, the balance of the contract grows. We provide the withdraw function for the owner to withdraw these funds from the contract as well.
Compile and Deploy the Smart Contract
Once this is all complete we can go ahead and compile our smart contract. If everything was configured correctly we can run our
 deployERC721.js script to launch our smart contract on Quai:
 The first thing this script does is broadcast a transaction on the Quai network. We will have to wait for the transaction to be mined to receive a result, but we can monitor the transaction hash on orchard.quaiscan.io.
Just search the hash presented on Quaiscan. Once it’s successful the script will return our contract address.
The first thing this script does is broadcast a transaction on the Quai network. We will have to wait for the transaction to be mined to receive a result, but we can monitor the transaction hash on orchard.quaiscan.io.
Just search the hash presented on Quaiscan. Once it’s successful the script will return our contract address.
 Take note of this contract address. We will need it later to build the app to interact with it. Save it in
 .env.local as NEXT_PUBLIC_DEPLOYED_CONTRACT
 You can also inspect the details of this contract by searching the address on orchard.quaiscan.io.
Building the dApp
Now that we have an NFT contract on the Quai blockchain we’ll want to build a web interface that can interact with it. First, let’s install another dependency to help our user interface look decent and allow for some tasty toast notifications when the user interacts with the smart contract. The second command will ask you if you want to install the chakra cli. Press enter to go ahead and proceed.src folder in our project. Create the following files with the following code in order to get started.
In src/app/ we’ll need a providers.tsx file and a store.tsx file. We’ll be using these to manage the wallet state across the app.
src/app/store.tsx
src/app/providers.tsx
src/app/additional.d.ts
src/app/additional.d.ts
src/components/utils.ts
src/components/wallet/requestAccounts.ts
src/components/wallet/useGetAccounts.ts
src/components/wallet/index.ts
src/app/layout.tsx
src/app/connectButton.tsx
src/app/page.tsx
Running the App
Once all your changes are saved you can runnpm run dev in the terminal and point your browser to https://localhost:3000 to view your app!
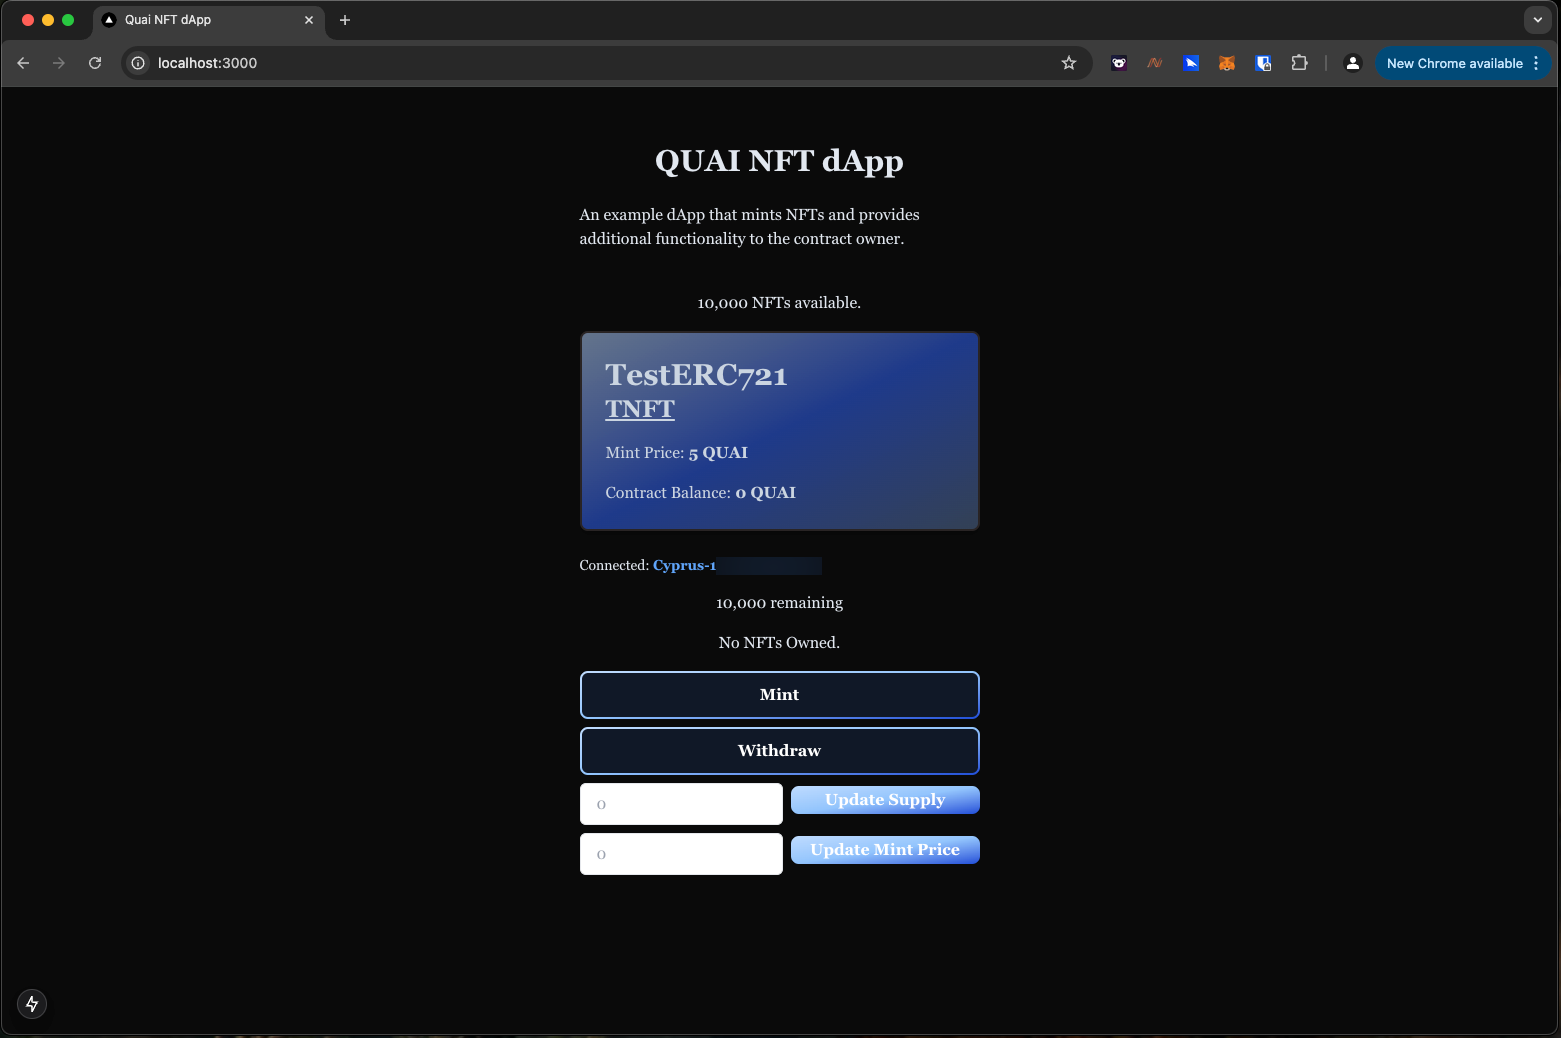 When you connect with the wallet you used to deploy the app you will see the options to withdraw funds, and update supply or mint price. All other wallets will only be allowed to mint an NFT. The app won’t show this additional functionality to other wallets and the smart contract is written to only allow the owner to perform these functions.
Wrapping Up!
Congrats! You’ve just built your first NFT app on Quai! If you would like to view the complete repo for this project browse over to the tutorial’s repo.Next Steps
If you’d like to continue to build and add more functionality here are some ideas to take this project further.- Create some art for your NFT.
- Once the metadata is set, you can produce and publish some art for your NFT viewable in NFT marketplaces or on Quaiscan
- Generate some metadata for your NFT.
- By default the app uses
https://example.comas the tokenuri for every minted NFT. This is set on line 29 onpage.tsx. You can modify this behavior to point to a JSON file you’re hosting either on your own site or IPFS.
- By default the app uses
- Launch your NFT on QuaiMark!
- QuaiMark is an NFT marketplace on Quai Network where people come to see what NFTs are available to buy, sell, and trade. Once you feel your project is ready, head over to Quaimark.com to check it out!