> ## Documentation Index
> Fetch the complete documentation index at: https://docs.qu.ai/llms.txt
> Use this file to discover all available pages before exploring further.
# Clore.AI 설치
> Clore.AI 클라우드 GPU를 사용하여 Quai Network GPU 마이너를 설치하고 실행합니다.
## 소개
여기서는 [Clore.AI](https://clore.ai/)에서 Quai Network ProgPOW 마이너의 구현체인 [quai-gpu-miner](https://github.com/dominant-strategies/quai-gpu-miner) 인스턴스를 실행할 것입니다.
Clore.AI는 전 세계 어디에서나 GPU 컴퓨팅 노드의 분산 네트워크에 대한 액세스를 제공하는 클라우드 컴퓨팅 마켓플레이스입니다.
### 요구 사항
Clore.AI에서 quai-gpu-miner를 실행하고 유효한 블록을 채굴하려면 다음이 필요합니다:
## 환경 설정
### Clore 계정
먼저 Clore 계정을 [생성](https://clore.ai/register)하거나 [로그인](https://clore.ai/login)합니다.
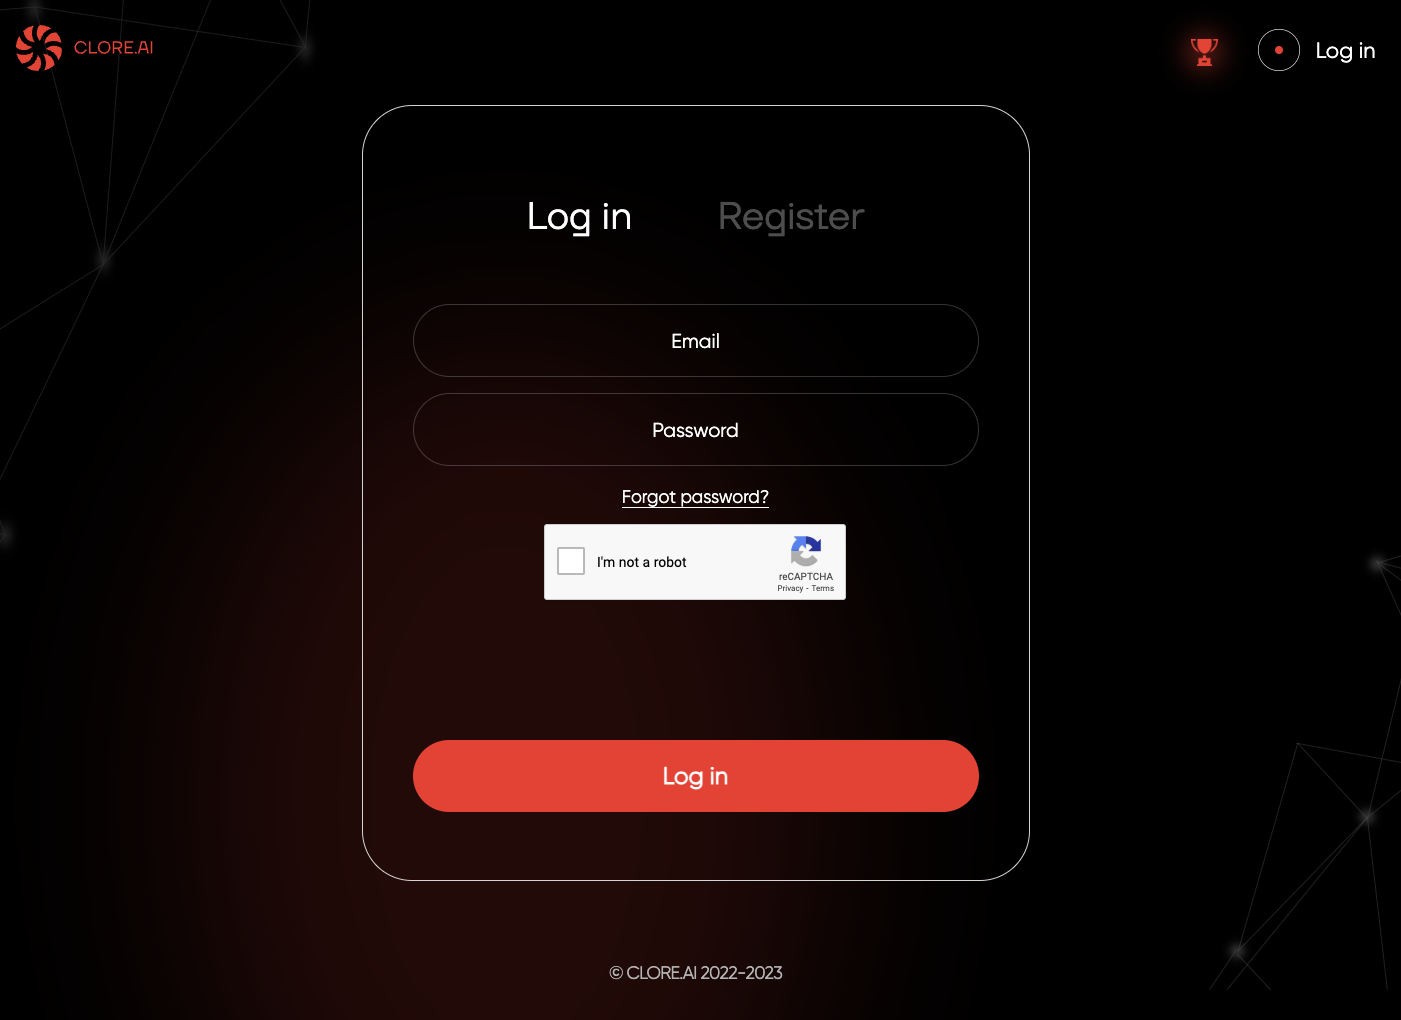 계정에 로그인한 후 `Marketplace` 탭으로 이동합니다. 여기에서 렌탈 가능한 모든 컴퓨팅 옵션을 볼 수 있습니다.
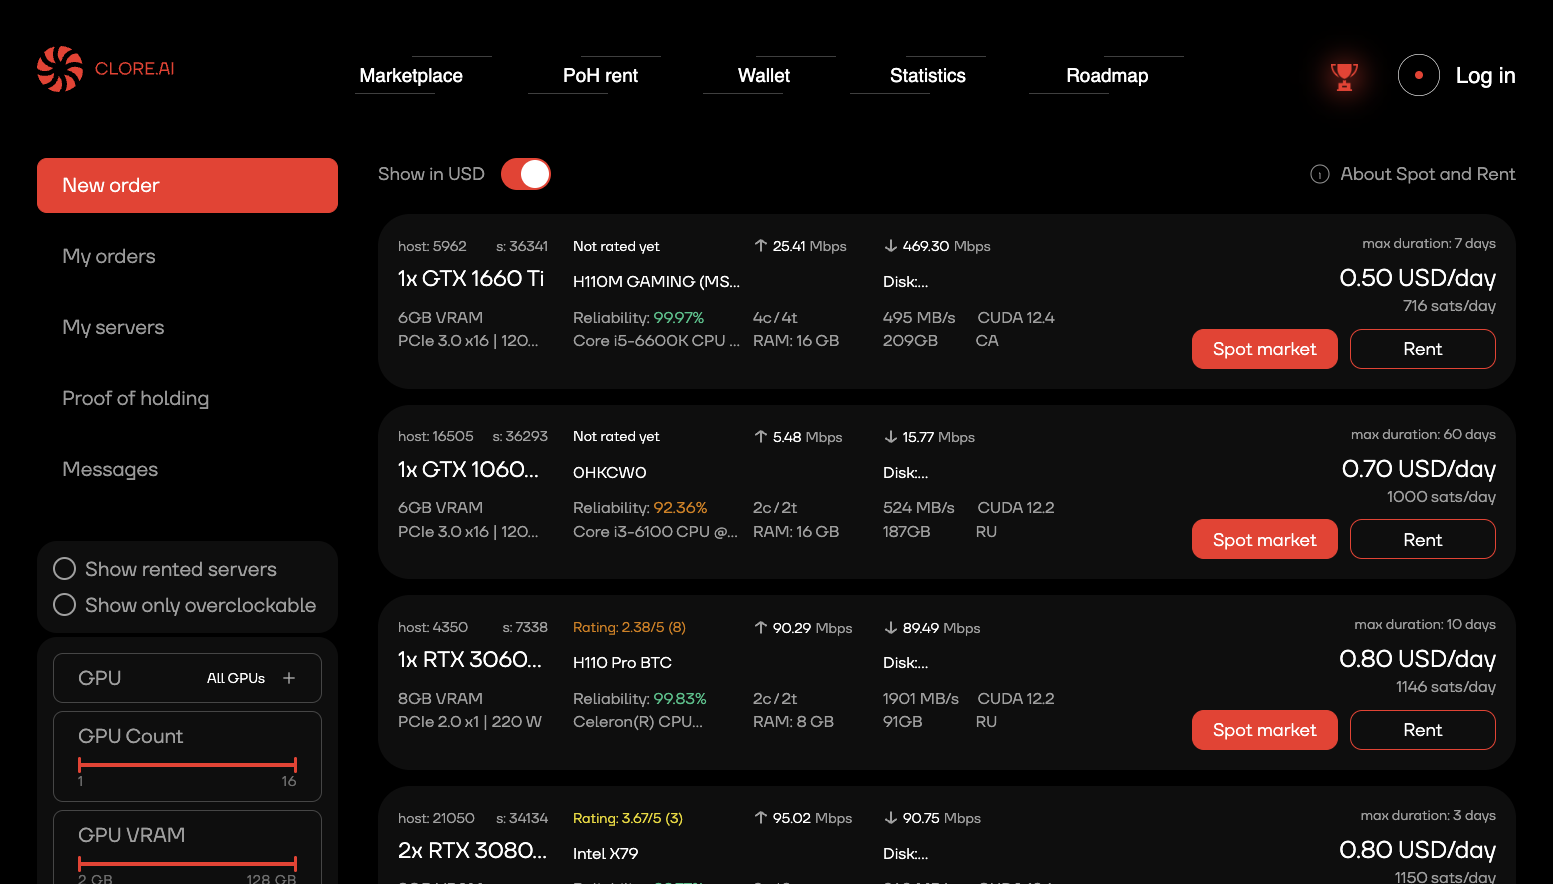 컴퓨팅 옵션을 선택하고 `Rental`을 클릭합니다. quai-gpu-miner로 컴퓨팅을 구성할 수 있는 구성 페이지로 이동하게 됩니다.
### Clore 인스턴스 구성
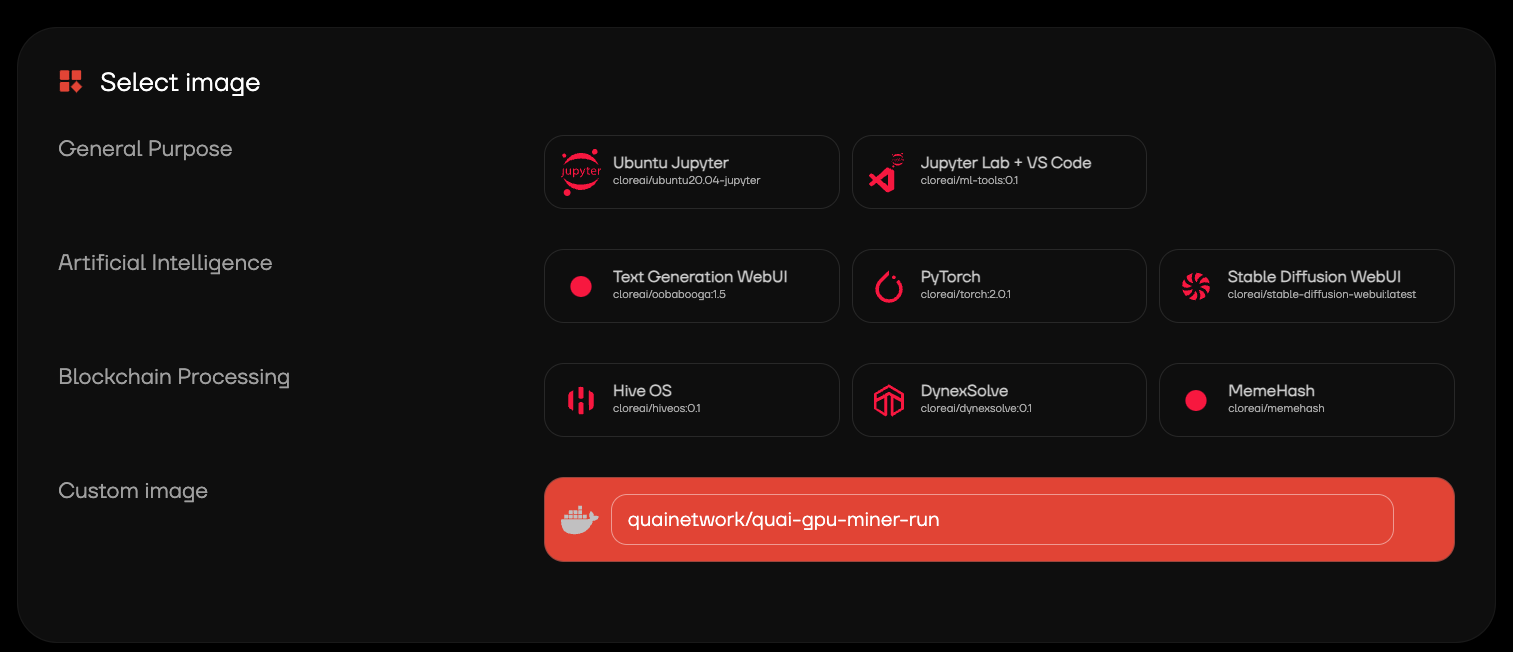
구성 페이지에서 `Select Image` 섹션으로 이동하여 `Custom Image` 섹션에 다음을 입력합니다:
```bash theme={null}
quainetwork/quai-gpu-miner-run
```
컴퓨팅 옵션을 선택하고 `Rental`을 클릭합니다. quai-gpu-miner로 컴퓨팅을 구성할 수 있는 구성 페이지로 이동하게 됩니다.
### Clore 인스턴스 구성
구성 페이지에서 `Select Image` 섹션으로 이동하여 `Custom Image` 섹션에 다음을 입력합니다:
```bash theme={null}
quainetwork/quai-gpu-miner-run
```
 `Configure Order` 섹션으로 스크롤합니다. `quai-gpu-miner-run` 이미지의 환경 변수를 입력합니다. 다음 변수를 추가해야 합니다:
* `PLATFORM`
* NVIDIA 카드의 경우 이 값을 `U`로 설정합니다.
* AMD 카드의 경우 이 값을 `G`로 설정합니다.
* `STRATUM_IP` Stratum 프록시의 IP 주소입니다.
* `STRATUM_PORT` Stratum 프록시의 포트입니다. 기본 stratum 포트는 `3333`입니다.
`Configure Order` 섹션으로 스크롤합니다. `quai-gpu-miner-run` 이미지의 환경 변수를 입력합니다. 다음 변수를 추가해야 합니다:
* `PLATFORM`
* NVIDIA 카드의 경우 이 값을 `U`로 설정합니다.
* AMD 카드의 경우 이 값을 `G`로 설정합니다.
* `STRATUM_IP` Stratum 프록시의 IP 주소입니다.
* `STRATUM_PORT` Stratum 프록시의 포트입니다. 기본 stratum 포트는 `3333`입니다.
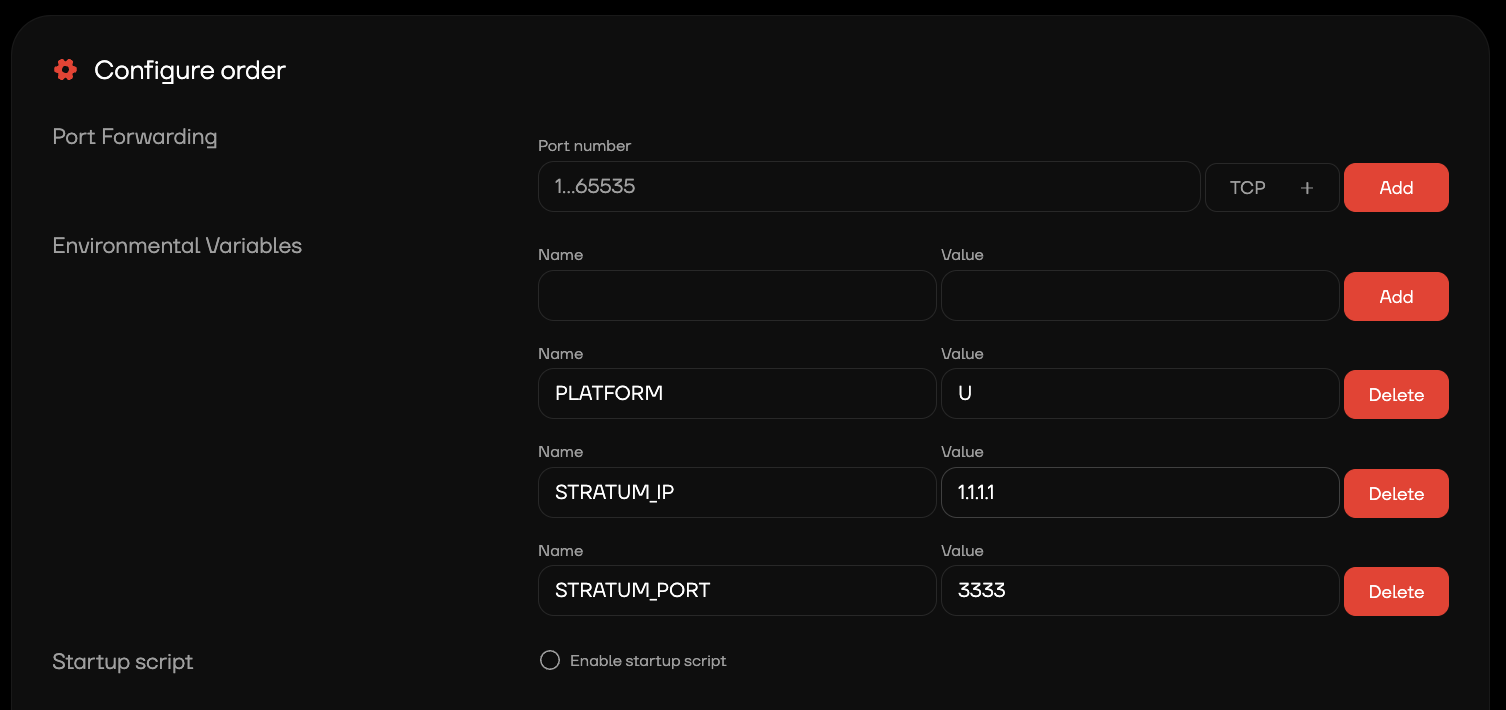 동일한 머신에서 stratum 프록시를 실행하지 않는 경우 stratum 포트 `3333`을 포트 포워딩해야 합니다.
환경 변수 섹션을 작성한 후 `Create` 버튼을 클릭하여 quai-gpu-miner의 Clore 인스턴스를 생성할 수 있습니다. 이렇게 하면 채굴 프로세스가 시작되고 계정에 컴퓨팅 비용이 청구됩니다.
### 인스턴스 관리
마이너가 실행되면 [My orders](https://clore.ai/marketplace) 탭을 사용하여 Clore 인스턴스를 관리할 수 있습니다.
Clore를 통해 마이너 로그를 확인하거나 [stratum 로그](/ko/guides/client/stratum#run)를 통해 인스턴스가 실행 중인지 확인할 수 있습니다.
동일한 머신에서 stratum 프록시를 실행하지 않는 경우 stratum 포트 `3333`을 포트 포워딩해야 합니다.
환경 변수 섹션을 작성한 후 `Create` 버튼을 클릭하여 quai-gpu-miner의 Clore 인스턴스를 생성할 수 있습니다. 이렇게 하면 채굴 프로세스가 시작되고 계정에 컴퓨팅 비용이 청구됩니다.
### 인스턴스 관리
마이너가 실행되면 [My orders](https://clore.ai/marketplace) 탭을 사용하여 Clore 인스턴스를 관리할 수 있습니다.
Clore를 통해 마이너 로그를 확인하거나 [stratum 로그](/ko/guides/client/stratum#run)를 통해 인스턴스가 실행 중인지 확인할 수 있습니다.