> ## Documentation Index
> Fetch the complete documentation index at: https://docs.qu.ai/llms.txt
> Use this file to discover all available pages before exploring further.
# Clore.AI Installation
> Install and run a Quai Network GPU miner using Clore.AI cloud GPUs.
## Introduction
Here, we'll be running an instance of [quai-gpu-miner](https://github.com/dominant-strategies/quai-gpu-miner), the implementation of a Quai Network ProgPOW miner, on [Clore.AI](https://clore.ai/).
Clore.AI is a cloud compute marketplace that provides access to a distributed network of GPU computining nodes from anywhere in the world.
### Requirements
In order to run the quai-gpu-miner on Clore.AI and mine valid blocks, you'll need the following:
## Environment Setup
### Clore Account
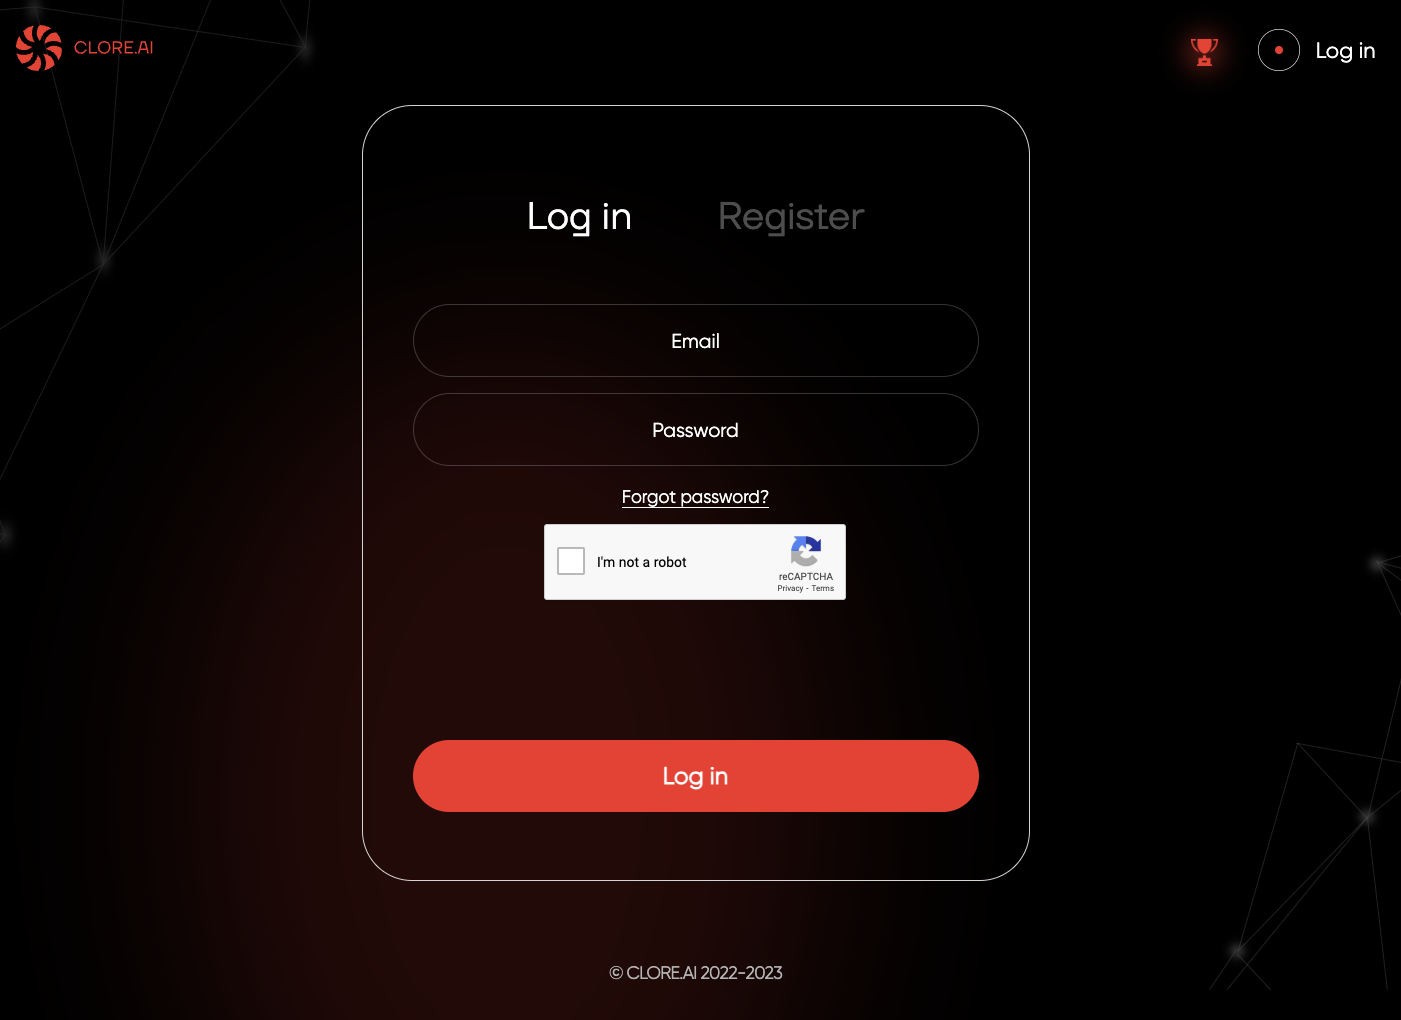
Start by [creating](https://clore.ai/register) or [logging into](https://clore.ai/login) your Clore account.
 After logging into your account, head to the `Marketplace` tab. Here, you'll be able to see all of the available compute options available for rental.
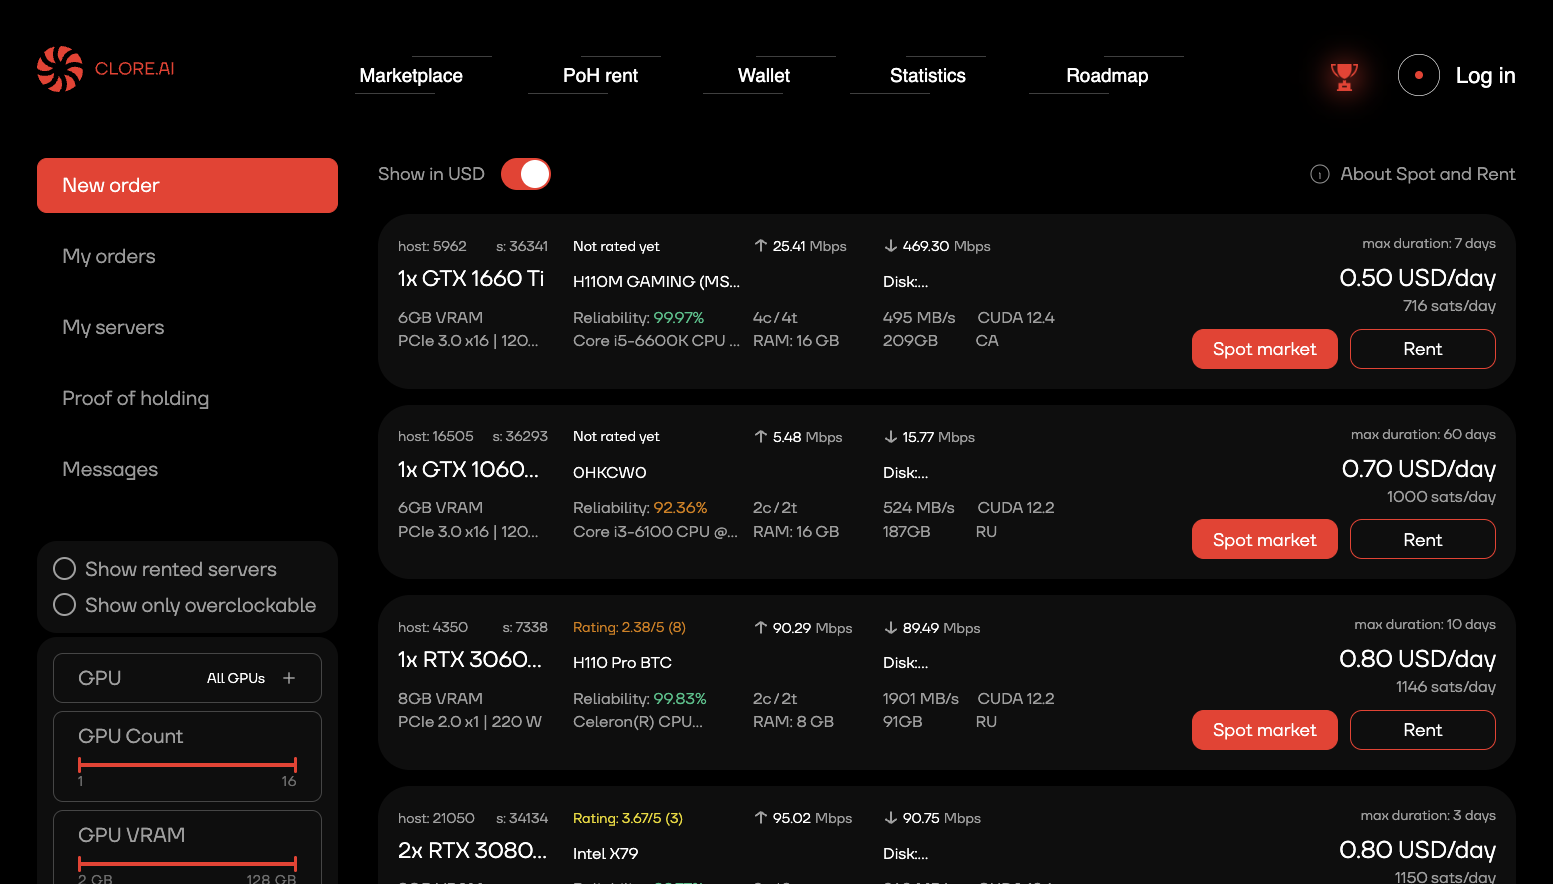 Select a compute option and click on `Rental`. You'll be taken to a configuration page where you'll be able to configure your compute with quai-gpu-miner.
### Configure Clore Instance
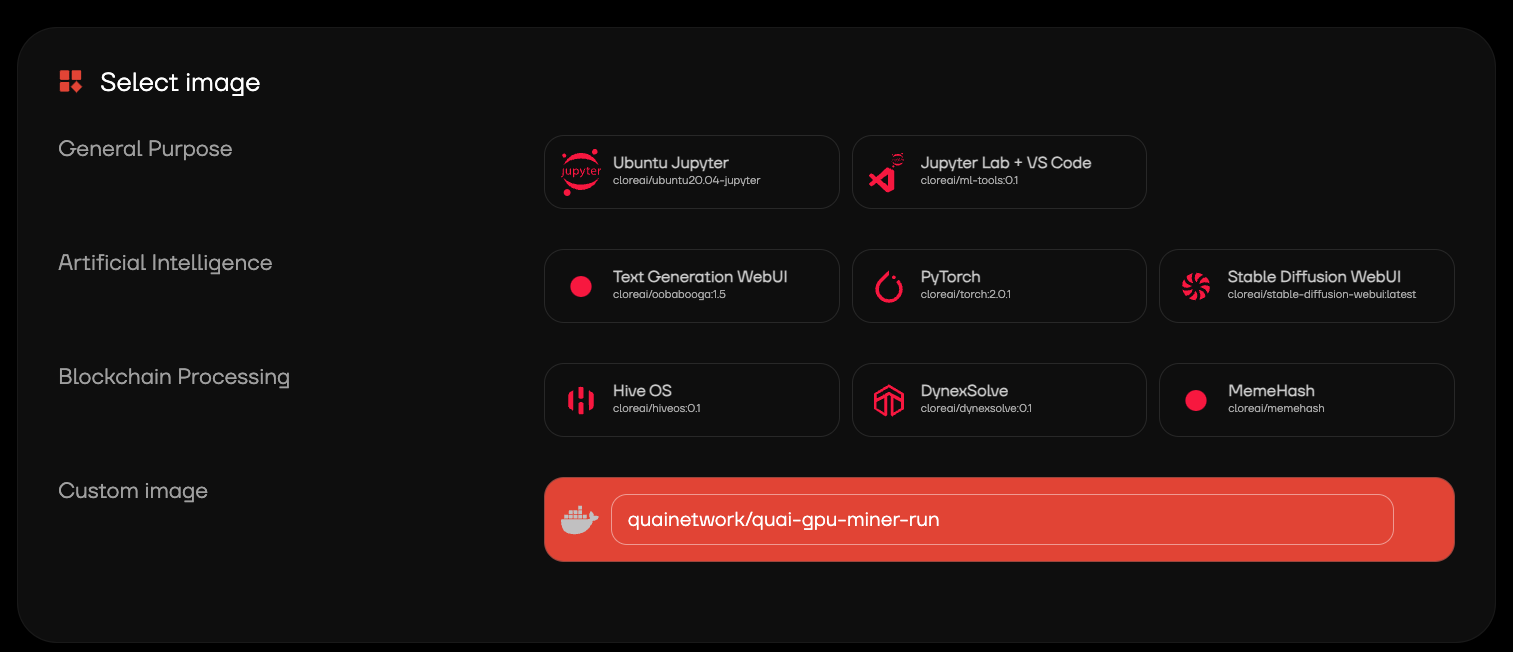
On the configuration page, head to the `Select Image` section and fill in the `Custom Image` section with the following:
```bash theme={null}
quainetwork/quai-gpu-miner-run
```
Select a compute option and click on `Rental`. You'll be taken to a configuration page where you'll be able to configure your compute with quai-gpu-miner.
### Configure Clore Instance
On the configuration page, head to the `Select Image` section and fill in the `Custom Image` section with the following:
```bash theme={null}
quainetwork/quai-gpu-miner-run
```
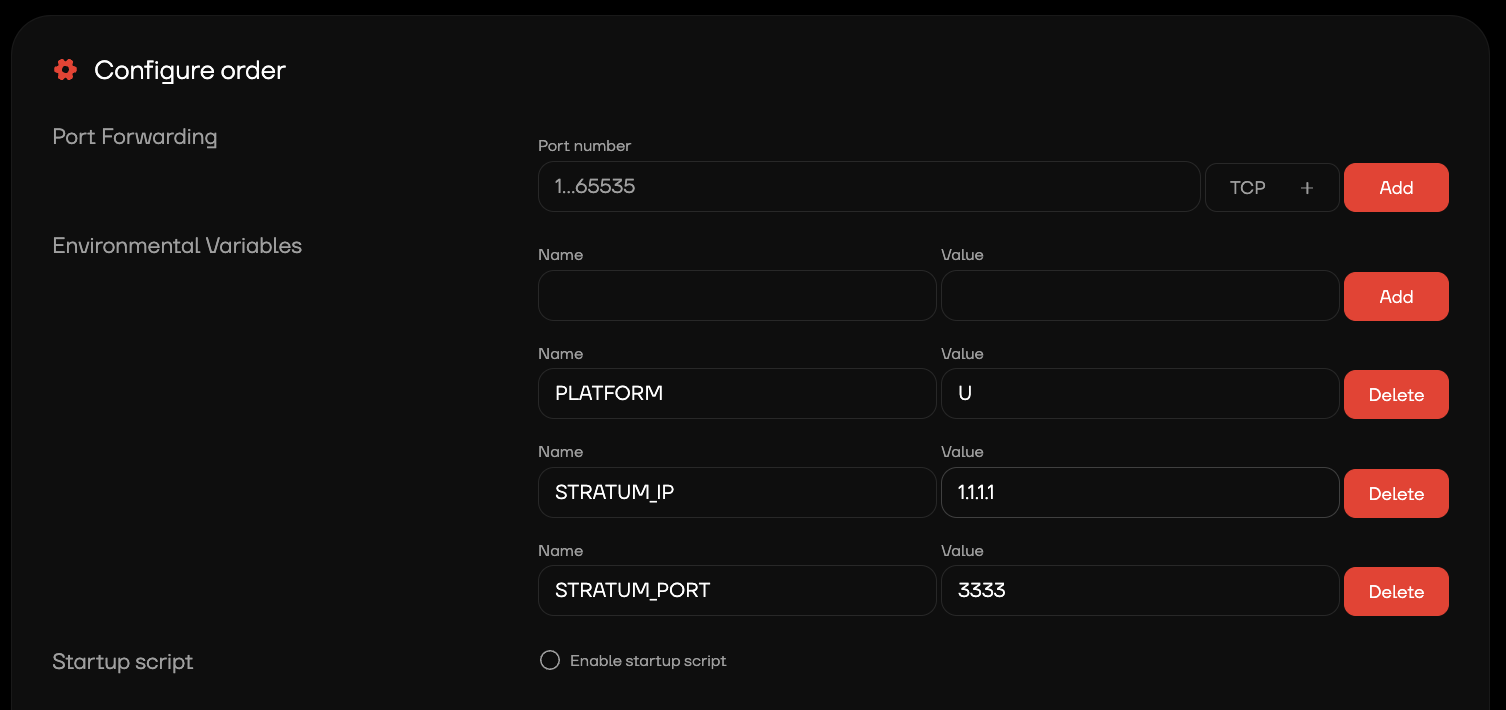
 Scroll down to the `Configure Order` section. We'll be filling in the environment variables for the `quai-gpu-miner-run` image. You'll need to add the following variables:
* `PLATFORM`
* For NVIDIA cards, set this value to `U`.
* For AMD cards, set this value to `G`.
* `STRATUM_IP` The IP address of your Stratum proxy.
* `STRATUM_PORT` The port of your Stratum proxy. The default stratum port is `3333`.
Scroll down to the `Configure Order` section. We'll be filling in the environment variables for the `quai-gpu-miner-run` image. You'll need to add the following variables:
* `PLATFORM`
* For NVIDIA cards, set this value to `U`.
* For AMD cards, set this value to `G`.
* `STRATUM_IP` The IP address of your Stratum proxy.
* `STRATUM_PORT` The port of your Stratum proxy. The default stratum port is `3333`.
 You will need to port forward the stratum port `3333` if you are not also running a stratum proxy on the same machine.
After filling out the environment variables section, you can click the `Create` button to create your Clore instance of quai-gpu-miner. This will start the mining process and charge your account for compute.
### Managing Your Instance
Once your miner is running, you can use the [My orders](https://clore.ai/marketplace) tab to manage your Clore instance.
You can verify that your instance is running by checking the miner logs through Clore or via your [stratum logs](/guides/client/stratum#run).
You will need to port forward the stratum port `3333` if you are not also running a stratum proxy on the same machine.
After filling out the environment variables section, you can click the `Create` button to create your Clore instance of quai-gpu-miner. This will start the mining process and charge your account for compute.
### Managing Your Instance
Once your miner is running, you can use the [My orders](https://clore.ai/marketplace) tab to manage your Clore instance.
You can verify that your instance is running by checking the miner logs through Clore or via your [stratum logs](/guides/client/stratum#run).