> ## Documentation Index
> Fetch the complete documentation index at: https://docs.qu.ai/llms.txt
> Use this file to discover all available pages before exploring further.
# Clore.AI 安装
> 使用 Clore.AI 云 GPU 安装和运行 Quai Network GPU 挖矿程序。
## 简介
在这里,我们将在 [Clore.AI](https://clore.ai/) 上运行 [quai-gpu-miner](https://github.com/dominant-strategies/quai-gpu-miner) 的实例,即 Quai Network ProgPOW 挖矿程序的实现。
Clore.AI 是一个云计算市场,提供从世界任何地方访问分布式 GPU 计算节点网络的服务。
### 系统要求
为了在 Clore.AI 上运行 quai-gpu-miner 并挖掘有效区块,您需要以下条件:
## 环境设置
### Clore 账户
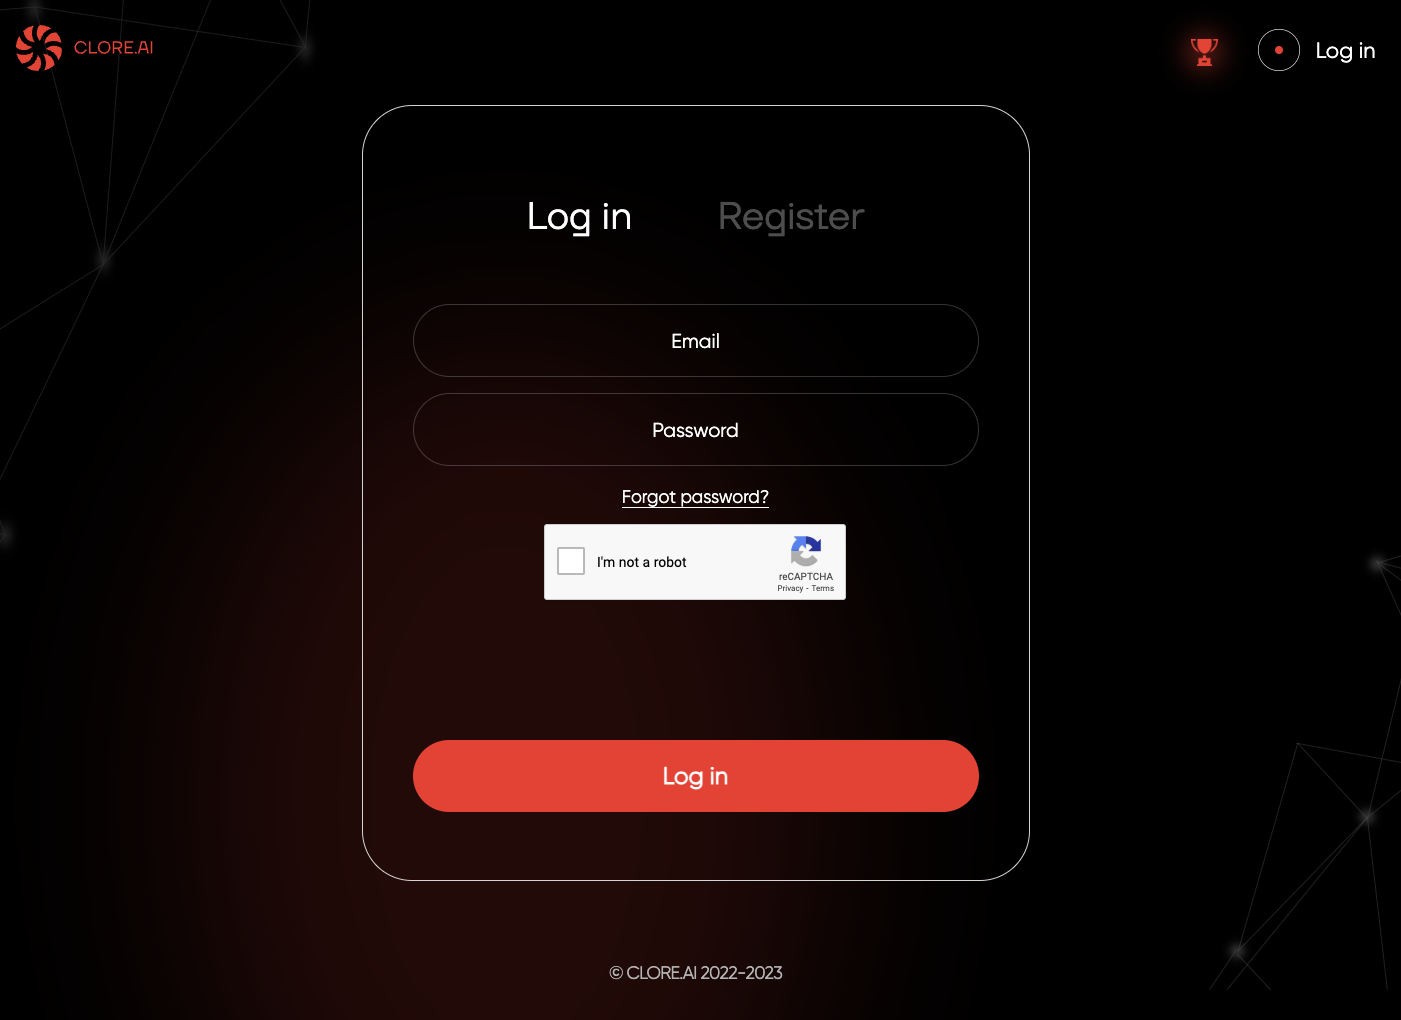
首先[创建](https://clore.ai/register)或[登录](https://clore.ai/login)您的 Clore 账户。
 登录账户后,前往 `Marketplace` 选项卡。在这里,您将能够看到所有可供租赁的计算选项。
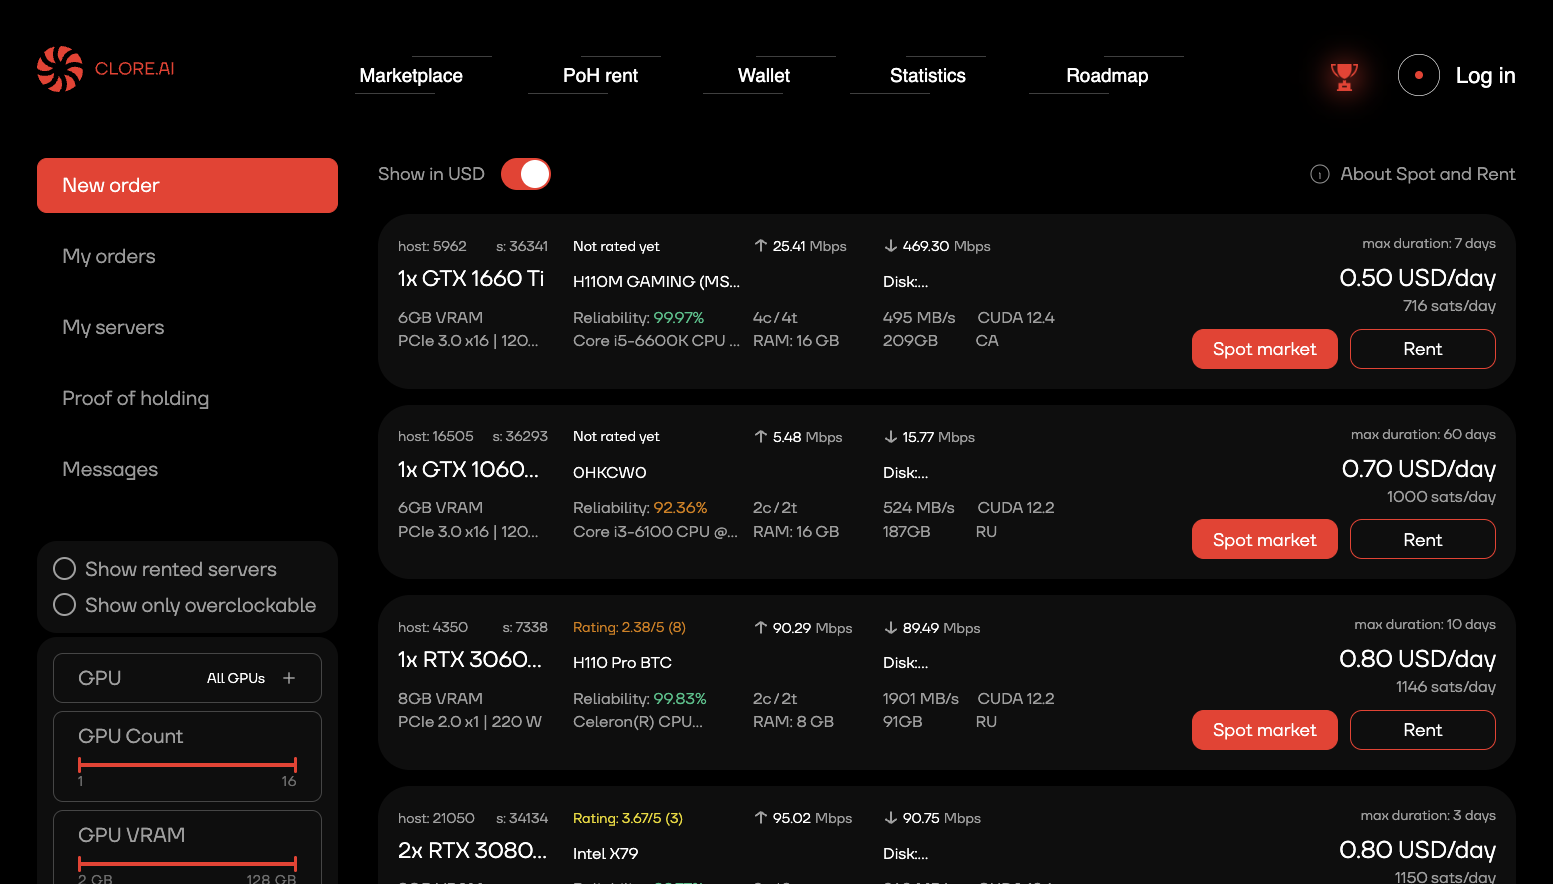 选择一个计算选项并点击 `Rental`。您将被带到一个配置页面,在那里您可以使用 quai-gpu-miner 配置您的计算资源。
### 配置 Clore 实例
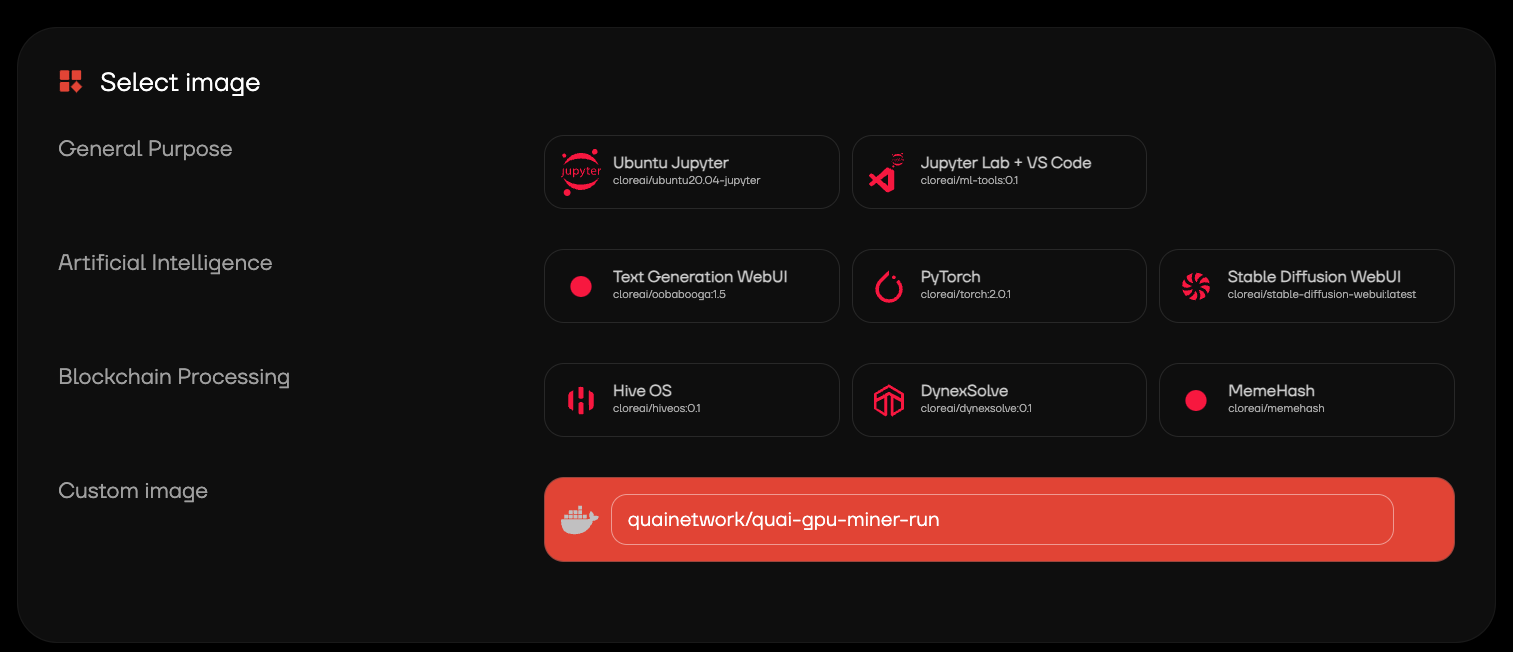
在配置页面上,前往 `Select Image` 部分,并在 `Custom Image` 部分填写以下内容:
```bash theme={null}
quainetwork/quai-gpu-miner-run
```
选择一个计算选项并点击 `Rental`。您将被带到一个配置页面,在那里您可以使用 quai-gpu-miner 配置您的计算资源。
### 配置 Clore 实例
在配置页面上,前往 `Select Image` 部分,并在 `Custom Image` 部分填写以下内容:
```bash theme={null}
quainetwork/quai-gpu-miner-run
```
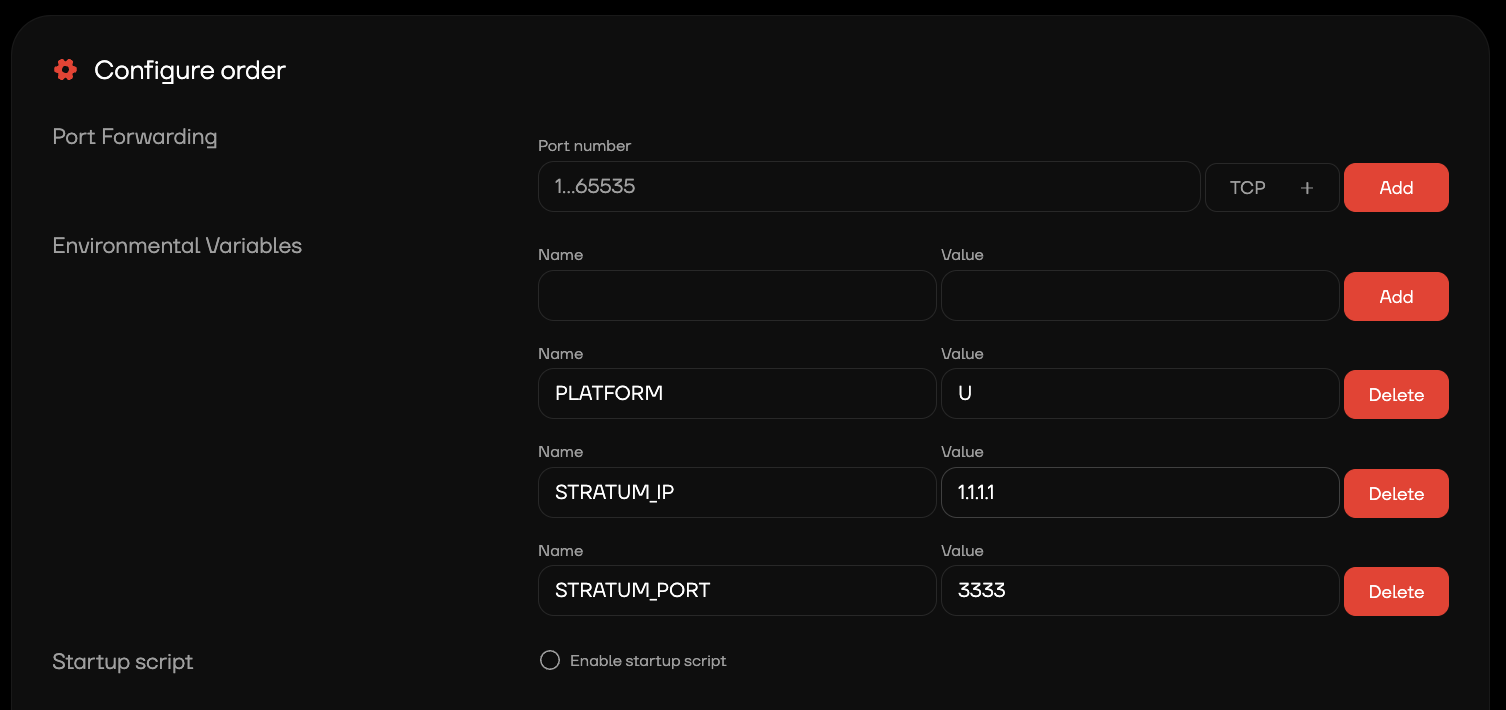
 向下滚动到 `Configure Order` 部分。我们将为 `quai-gpu-miner-run` 镜像填写环境变量。您需要添加以下变量:
* `PLATFORM`
* 对于 NVIDIA 显卡,将此值设置为 `U`。
* 对于 AMD 显卡,将此值设置为 `G`。
* `STRATUM_IP` 您的 Stratum 代理的 IP 地址。
* `STRATUM_PORT` 您的 Stratum 代理的端口。默认 stratum 端口是 `3333`。
向下滚动到 `Configure Order` 部分。我们将为 `quai-gpu-miner-run` 镜像填写环境变量。您需要添加以下变量:
* `PLATFORM`
* 对于 NVIDIA 显卡,将此值设置为 `U`。
* 对于 AMD 显卡,将此值设置为 `G`。
* `STRATUM_IP` 您的 Stratum 代理的 IP 地址。
* `STRATUM_PORT` 您的 Stratum 代理的端口。默认 stratum 端口是 `3333`。
 如果您没有在同一台机器上运行 stratum 代理,您将需要转发 stratum 端口 `3333`。
填写环境变量部分后,您可以点击 `Create` 按钮来创建您的 quai-gpu-miner 的 Clore 实例。这将启动挖矿过程并向您的账户收取计算费用。
### 管理您的实例
一旦您的挖矿程序运行起来,您可以使用 [My orders](https://clore.ai/marketplace) 选项卡来管理您的 Clore 实例。
您可以通过 Clore 检查挖矿程序日志或通过您的 [stratum 日志](/cn/guides/client/stratum#run)来验证您的实例是否正在运行。
如果您没有在同一台机器上运行 stratum 代理,您将需要转发 stratum 端口 `3333`。
填写环境变量部分后,您可以点击 `Create` 按钮来创建您的 quai-gpu-miner 的 Clore 实例。这将启动挖矿过程并向您的账户收取计算费用。
### 管理您的实例
一旦您的挖矿程序运行起来,您可以使用 [My orders](https://clore.ai/marketplace) 选项卡来管理您的 Clore 实例。
您可以通过 Clore 检查挖矿程序日志或通过您的 [stratum 日志](/cn/guides/client/stratum#run)来验证您的实例是否正在运行。